
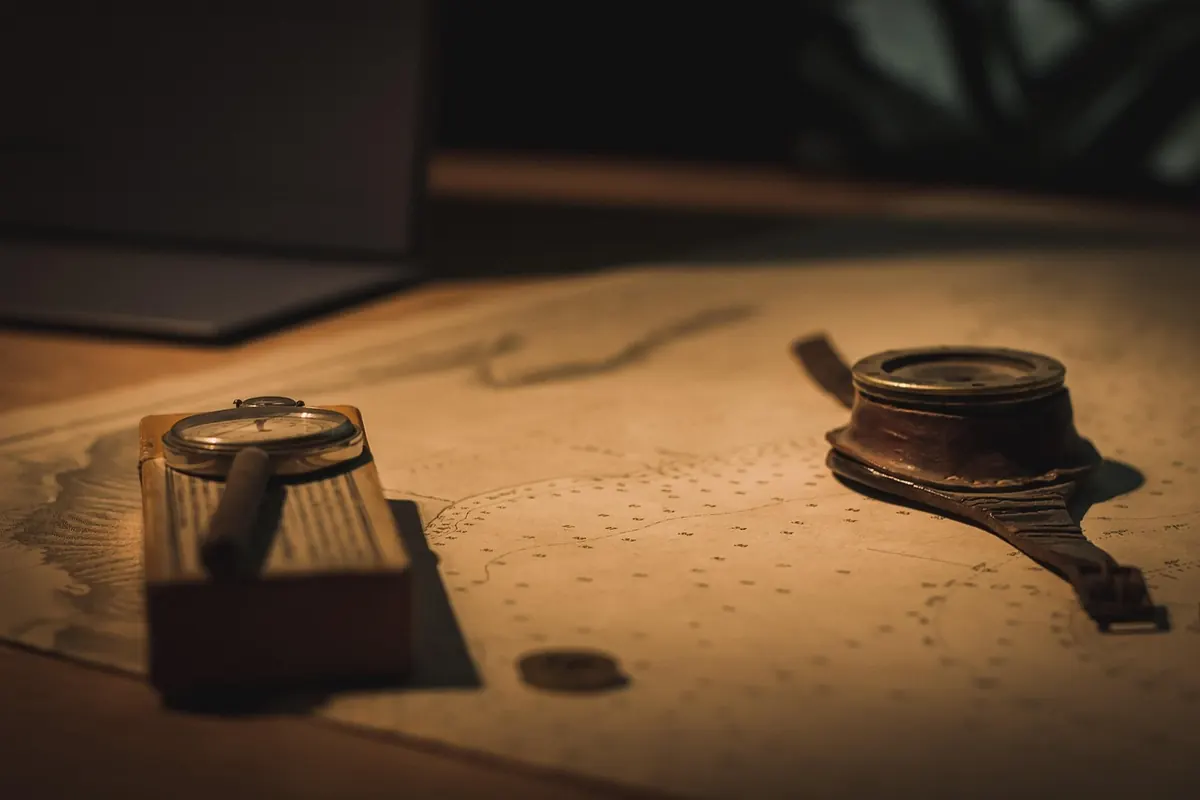
Dusk is the loveliest hour to be out on a footpath, and one of the easiest to get wrong. The light softens, colour drains out of the fields, and a track that was unmistakable at four in the afternoon becomes a faint line through wet grass. None of that means you have to be home before sunset. It means you need a few habits that make the last hour of daylight work for you. Most of the skill involved is not heroic navigation. It is noticing things early, using the tools you already carry, and knowing exactly where you last stood with confidence.
Sort your kit and your plan before the light fades
Decide where the walk finishes and how you are getting back, then check the sunset time for that day. Twilight in Britain generally adds around half an hour of usable light after sunset, less on a heavy overcast evening and longer in the far north in midsummer. If part of your route is rough, pathless or crosses open moorland, plan to do that bit in daylight and save the lanes and field paths for the gloom.
Carry less than you think you need in gadgets and more than you think you need in light:
- A paper map at 1:25,000 for footpath detail, folded to your route and kept in a clear plastic case
- A baseplate compass, even if you rarely use it
- A head torch with fresh batteries, plus a small spare torch in a pocket
- A phone with offline maps downloaded and a full charge, and a power bank if the walk is long
- A whistle, a warm layer, water and something to eat
Read the map for the dark, not for the daylight
Maps are generous in bright sunshine and stingy at dusk. The green dashed line marking a public right of way may cross a field with no visible trodden line at all, and that is perfectly normal. So do not navigate to the line on the map. Navigate between the things you can actually see: gates, stiles, bridges, junctions, the corner of a wood.
Break the walk into short legs, each ending at a feature you could find with your hands if you had to. Then read the broader shapes. Hedges and walls, stream lines, field boundaries and ridges are the things that stay visible when everything else flattens into grey, and the map tells you where they run. Contours tell you whether you are about to climb, which matters more at dusk than at noon, when tiredness and cold exaggerate every slope.
Write a route card
Before you set off, note each leg in a few words: bearing, distance, and what you expect to see when you arrive. Something like "gate at far corner, 400 m, bearing 240, then turn right along hedge". Keep it in a pocket or taped inside the map case. Reading a route card by torchlight takes seconds; decoding a full map with the torch in your teeth takes minutes and patience you may not have.
Put your phone to work as a backup, not a leader
Download the map tiles for your whole route before you leave the house, and switch the phone to aeroplane mode on the walk. Location still works without a signal, and the battery lasts considerably longer. Keep the phone in an inside pocket so the cold does not drain it, and turn the screen brightness right down.
Use it to confirm what the map and the ground are already telling you. Occasionally check a grid reference and pencil a tick on the paper map, so you always know roughly where you were five minutes ago. What you should not do is walk with your face in the screen, following a blue dot onto a path that is not there. Phones drop out, freeze and run flat. Treat them as a second opinion.
Handrails, catching features and other quiet helpers
Three terms are worth knowing, because they turn a vague sense of direction into a plan. A handrail is a linear feature you can follow, such as a wall, a stream, a fence line or a lane. A catching feature is something you cannot miss if you go too far, like a river, a main road or the edge of a forest. A collecting feature is something you expect to meet on the way, such as a footbridge or a gate.
At dusk, look for:
- Silhouettes on the skyline — trees, masts, pylons, farm buildings
- Dark lines of hedge and wall crossing paler fields
- Gates and stiles ahead, and small waymark discs that catch torchlight
- Sounds that tell you where you are: running water, road hum, livestock
The path itself is often visible as a slightly darker band of compacted ground, or a subtle dip at the verge. Look a few paces ahead rather than at your boots, and let your eyes adjust.
Pacing, bearings and the aiming-off trick
If you can count and use a compass, you can find your way in near-darkness. Pace out 100 metres on a quiet lane at home so you know your own count, then use pacing to measure legs on the walk. Timing works too: on flat ground most people cover a kilometre in roughly fifteen minutes; add time for mud, gates and uphill sections.
Aiming off is the simplest clever thing in low-light navigation. If you are heading for a footbridge over a stream, do not aim at the bridge. Deliberately aim a little to one side, upstream, so that when you meet the stream you know which way to turn. Arriving at the right handrail with a known direction is far better than arriving somewhere along it with no idea.
Use your torch like a tool
Walk with a low beam, keeping the hotspot out of your own eyes and away from other people. Red light helps preserve night vision, but it also flattens the ground, so switch to white for stiles, roots and rocky sections. Sweep the beam slowly across the edges of the path rather than staring straight down it.
When you lose the path — the first two minutes
Stop. Stand still and look back the way you came; a path that has vanished often reappears when viewed from the other direction. Then retrace your steps to the last point you were certain of — the gate, the stile, the junction — and start again from there. Do not press on hoping the path will turn up. Two minutes of checking beats an hour of wandering.
If you cannot find it, take a bearing to the nearest handrail and walk to it, or use your phone for a grid reference. If you are genuinely stuck in the dark, stop somewhere safe and sheltered, put on every layer you have, and call for help. In the UK, dial 999 and ask for the police, who coordinate mountain rescue; give your grid reference and describe what you can see and hear.
A short checklist for the last hour of light
- Check sunset, allow for twilight, and keep rough ground for daylight.
- Know your last certain point and the next one you expect to reach.
- Keep map and compass to hand, not buried at the bottom of the rucksack.
- Torch on your head, spare in your pocket, phone charged and kept warm.
- Turn and look behind you regularly, so the return view is familiar.
- Pause the moment something does not match the map — then trust the map, the ground and the compass, in that order.
Dusk rewards walkers who plan to be slow. Give yourself the last half-hour of light to be tidy and unhurried, and the fading hour becomes the best part of the day rather than the part you would rather forget.
Photo: 24278850 / Pixabay
Related posts
More stories you’ll love reading